
Nginx

오픈 소스 웹 서버의 일종으로, 클라이언트의 요청에 따라 HTML, CSS, JS, 이미지 파일과 같은 정적 파일을 응답하여 제공한다. 웹 서버는 HTTP 프로토콜을 사용하여 클라이언트와 통신한다. Nginx와 같은 대표적인 웹 서버의 예로는 Apache, Microsoft IIS등 다양한 웹 서버가 존재한다.
Nginx 설치 (Linux Ubuntu 22.04)
이wp ubuntu 터미널에 들어가서 아래와 같이 입력해준다.
sudo apt update
sudo apt upgrade -y
sudo install nginx -y
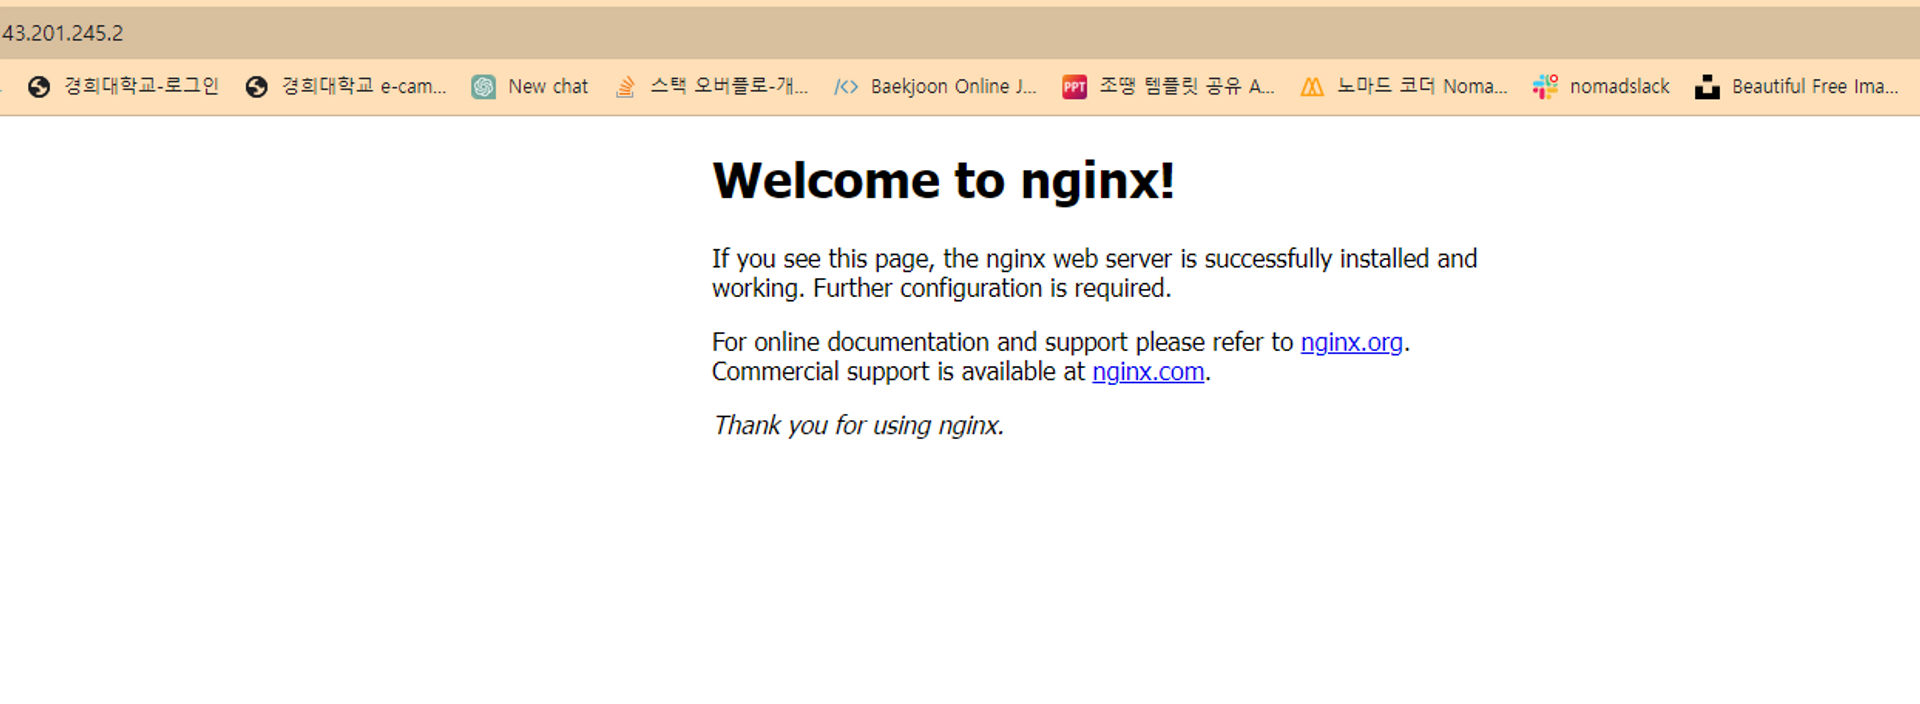
이제 브라우저에 자신의 EC2(or 서버 IP) 주소로 접속 시 아래 화면이 뜨면 성공이다.
만약 위 화면이 보이지 않는다면, EC2의 경우 보안그룹에 TCP 80번 포트가 anywhere로 설정되어 있나 확인해보고, nignx의 상태도 확인해준다.(sudo systemctl status nginx 로 확인 가능)
Nginx 명령어
| Nginx 시작 | sudo systemctl start nginx |
| Nginx 부팅 시 시작하도록 설정 | sudo systemctl enable nginx |
| Nginx 중지 | sudo systemctl stop nginx |
| Nginx 다시 시작 | sudo systemctl restart nginx |
| Nginx 다시 로드 | sudo systemctl reload nginx |
| Nginx 구성 테스트 | sudo nginx -t |
| Nginx 상태 보기 | sudo systemctl status nginx |
| Nginx 버전 확인 | sudo nginx -v |
Nginx에서의 정적콘텐츠 호스팅
NGINX에서는 설정 파일이 있고, 웹 서버가 실행 될 때 이 설정 파일을 읽으면서 실행이 된다.
ubuntu 기준
/etc/nginx/sites-available/default 가 nginx의 설정 파일이다.
cd /etc/nginx/sites-available
cat default
그러면 아래와 같은 내용보다 더 긴 내용을 확인할 수 있다.
필자는 중요한 server 블럭만 가져왔다.
server {
        listen 80 default_server;
        listen [::]:80 default_server;

        # SSL configuration
        #
        # listen 443 ssl default_server;
        # listen [::]:443 ssl default_server;
        #
        # Note: You should disable gzip for SSL traffic.
        # See: https://bugs.debian.org/773332
        #
        # Read up on ssl_ciphers to ensure a secure configuration.
        # See: https://bugs.debian.org/765782
        #
        # Self signed certs generated by the ssl-cert package
        # Don't use them in a production server!
        #
        # include snippets/snakeoil.conf;

        root /var/www/html; <- 중요

        # Add index.php to the list if you are using PHP
        index index.html index.htm index.nginx-debian.html;

        server_name _;

        location / {
                # First attempt to serve request as file, then
                # as directory, then fall back to displaying a 404.
                try_files $uri $uri/ =404;
        }

        # pass PHP scripts to FastCGI server
        #
        #location ~ \.php$ {
        #       include snippets/fastcgi-php.conf;
        #
        #       # With php-fpm (or other unix sockets):
        #       fastcgi_pass unix:/var/run/php/php7.4-fpm.sock;
        #       # With php-cgi (or other tcp sockets):
        #       fastcgi_pass 127.0.0.1:9000;
        #}

        # deny access to .htaccess files, if Apache's document root
        # concurs with nginx's one
        #
        #location ~ /\.ht {
        #       deny all;
        #}
}
- root : 정적 컨텐츠를 찾는 시작 디렉토리를 의미
- index : 기본적인 요청에 대해 index 뒤의 파일들을 찾아서 웹 상으로 보여준다는 것
실제로
cd /var/www/html
ls
로 이동하여 ls 명령어로 있는 파일을 보면
index.nginx-debian.html
위의 파일이 있는 것을 확인할 수 있다.
이제
cat index.nginx-debian.thml을 해서 내부를 살펴보면
<!DOCTYPE html>
<html>
<head>
<title>Welcome to nginx!</title>
<style>
    body {
        width: 35em;
        margin: 0 auto;
        font-family: Tahoma, Verdana, Arial, sans-serif;
    }
</style>
</head>
<body>
<h1>Welcome to nginx!</h1>
<p>If you see this page, the nginx web server is successfully installed and
working. Further configuration is required.</p>

<p>For online documentation and support please refer to
<a href="http://nginx.org/">nginx.org</a>.<br/>
Commercial support is available at
<a href="http://nginx.com/">nginx.com</a>.</p>

<p><em>Thank you for using nginx.</em></p>
</body>
</html>
우리가 처음 80번 포트로 접속했을 때 응답으로 오는 HTML 문서임을 확인할 수 있다.
다시 요약하면
root /var/www/html을 통해 정적 콘텐츠를 찾아낼 시작 디렉토리를 설정하고
index를 통해 기본 요청이 온 경우 어떤 파일을 줄지 설정하여,
/ 요청에 대해
/var/www/html/index.nginx-debian.thml을 응답으로 준 것을 확인할 수 있습니다.
Nginx 설정 파일에서의 Location 블록
이제 /etc/nginx/sites-available/default에 아래와 같은 블록을 추가해보자.
location /temp{
                root /var/www;
                index temp.html
                try_files $uri $uri/ =404;
        }
이후 /var/www로 이동해서
sudo systemctl restart nginx <- nginx 설정 변경이 되었으니 재실행 해야함
sudo mkdir temp
cd temp
sudo vi temp.html
temp 디렉토리에 temp.html 파일을 만들어준다.
<h1> Temp <h1>
이후
서버 IP/temp로 접속을 한다.

temp.html에 적었던 내용을 확인할 수 있다.
이게 어떻게 된 건지 살펴보자.
location /temp{
                root /var/www;
                index temp.html
                try_files $uri $uri/ =404;
        }
위 설정은 /temp 요청에 대해 아래 중괄호 속 내용과 같이 하라는 뜻이다.
root /var/www라는 말은/temp 앞에 /var/www를 붙여서
/var/www/temp 디렉토리에서 정적 파일을 찾아라는 뜻이다.
즉
location /y{
	root /x
}위 설정은 /y로 요청이 오면 /x/y에서 파일을 찾아라는 뜻이다.
추가적으로 index temp.html은
기본적으로 /temp 요청이 올 경우 index 뒤의 파일을 찾아서 응답으로 주라는 말이므로
우리가 /var/www/temp에 temp.html을 만들어 두었기에 응답이 간 것을 확인 할 수 있다.
Location Block 으로 여러 경우 다르게 호스팅 해보기
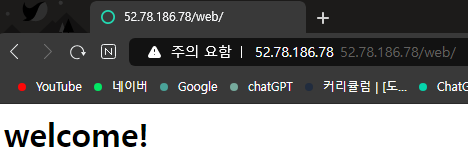
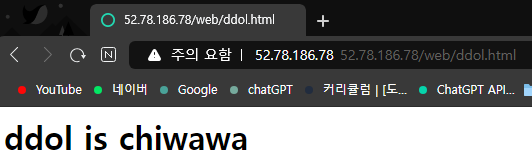
1. /web 경로에 대해 기본적으로 welcome!이 포함된 html을 보여주고 ddol.html 파일을 요청 할 경우 html 문서를 응답으로 주고 그 외의 경우는 에러 응답
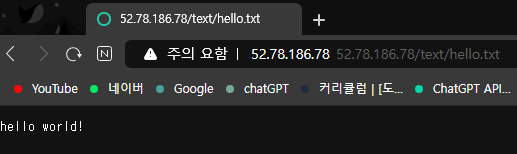
2. /text 경로에 대해서는 기본 호스팅이 없고 hello.txt를 요청 시 hello world 문자열을 응답으로 주고 그 외의 경우는 에러 응답
먼저 nginx 설정 파일을 수정한다.
location /web{
                root /var/www;
                index welcome.html
                try_files $uri $uri/ =404;
        }

	location /text{
	        root /var/www;
	        try_files $uri $uri/ =404;
					}
/var/www/web 디렉토리를 만들어서 그 안에 welcome.html과 ddol.html을 만든다.
cd /var/www
sudo mkdir web
cd web
sudo vi welcome.html -> welcome.html 참고
sudo vi ddol.html -> ddol.html 참고// welcome.html
<h1>welcome!</h1>// ddol.html
<h1> ddol is chiwawa</h1>
/var/www/text 디렉토리를 만들어서 hello.txt파일 생성한다.
cd /var/www
sudo mkdir text
cd text
sudo vi hello.txt// hello.txt
hello world!
sudo systemctl restart nginx 로 nginx를 재시작해준다.
아래 사진처럼 나오면 성공한 것이다.
Nginx에서 Reverse Proxy 설정하기
Proxy에 대한 참조는 아래 포스팅에서 할 수 있다.
[네트워크] 포워드 프록시와 리버스 프록시의 차이점(Froward proxy, Reverse proxy)
sangcheon02.tistory.com
기존 Nginx 설정 파일을 아래와 같이 변경해보자.
location / {
                proxy_pass http://localhost:3000; <- 프록시 설정
                # First attempt to serve request as file, then
                # as directory, then fall back to displaying a 404.
                try_files $uri $uri/ =404;
        }
위의 설정을 보면 /요청에 대해 우선적으로 프록시로써 요청을 건네주도록 추가했다.
이 때, localhost:3000, 즉 내부 컴퓨터의 3000번 포트의 프로세스로 요청을 보내도록 되어있기에
이는 리버스 프록시로 볼 수 있다.
(/로 들어오면 프록시를 통해 localhost:3000으로 요청)
이제 sudo systemctl restart nginx로 nginx를 재시작 한 후
이제 서버 IP/3000로 접속해보자.
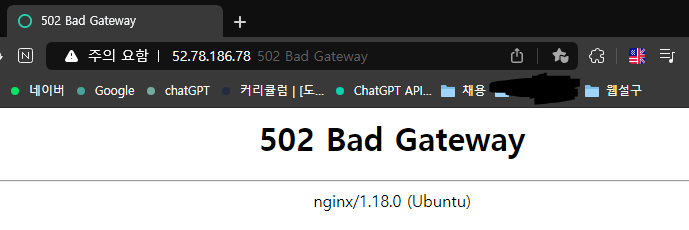
이렇게 502 에러가 뜨면 정상적으로 리버스 프록시를 적용한 것이다.